Iray Daz settings
A lot of people try to customize Iray for Daz.
Many try to do so in a very, very desperate way.
And the reason for this desperation is that understanding the best settings and what they do can be a daunting task, especially for beginners still navigating the local complex options.
Why customize Iray at all? Well, render times in Daz Studio can take hours depending on the project. Optimal settings, on the other hand, will reduce the wait to a minimum, while default configurations will lengthen the process.
Read on to learn how to customize Iray for Daz to make things run faster.
Iray settings
Let's start by clarifying that Iray does exactly what you tell it to do. This engine can be considered pretty unbiased. But you still need to define when it should stop rendering.
This is done through custom settings.
When you open Daz Studio, you will see the Render Settings tab, which consists of several subsections.
General Settings
Here you will find the Dimension Preset, Pixel Size, Aspect Ratio, Render Type, Render Target, Image Name, Image Path and Auto Headlamp settings.
Each of these affects resolution, file location, lighting, and other factors - don't be afraid to interact with them to determine what's what.
It's more interesting that way!
Anyway, let's take the Auto Headlamp parameter as an example. It's suspiciously often overlooked, but it has a direct effect on rendering.
It always casts light where it is directed. It's on by default, so you can see a view of the scene even if there's no manually added light. While it's useful when working, you'll probably want to turn it off when rendering.
Render Mode
You can choose between two rendering modes.
Photoreal or Interactive.
Each has its own unique settings that affect the speed and quality of the rendering. So if you want the best results, choose Photoreal. However, if you are in a hurry, Interactive is definitely the way to go.
Optimization
As for optimization, it can be done by adjusting settings like Caustic Sampler and Guided Sampling. These have a big impact on the lighting effects.
We suggest that you delve deeper into the first one. Caustic is the refraction of light rays by a curved surface. Daz naturally creates similar effects, but if you want to enhance them, you need to turn this option on.
Or turn it off if you want to preserve performance.
Guided Sampling, on the other hand, can noticeably improve rendering quality. Especially in combination with the Firefly filter. However, using
Guided Sampling can have a big impact on your system's memory resources.
When to use it? There are a few scenarios:
- When there are strongly shaded light sources. This is the sun, for example.
- When volumetric rendering is required.
- When there are soft shadows from large area light sources that depend on tessellation of area sources.
Now, we've covered the most important and basic Iray settings in Daz. They have an extremely large impact on performance and thus rendering speed.
Yes, there are other settings, but that is probably a topic for another article.
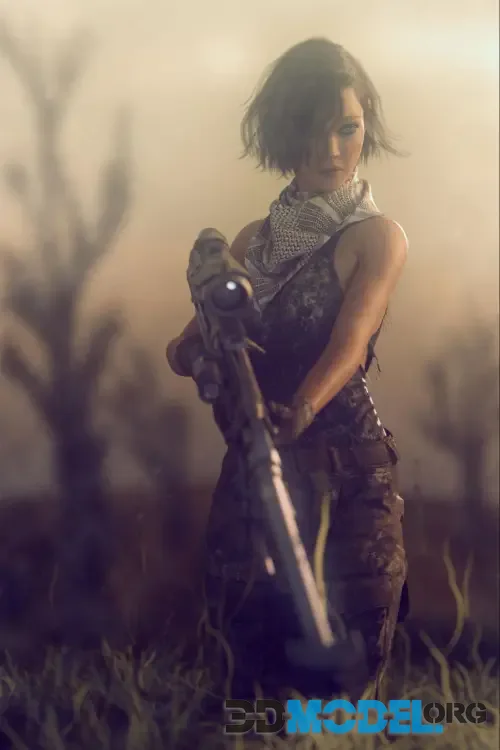
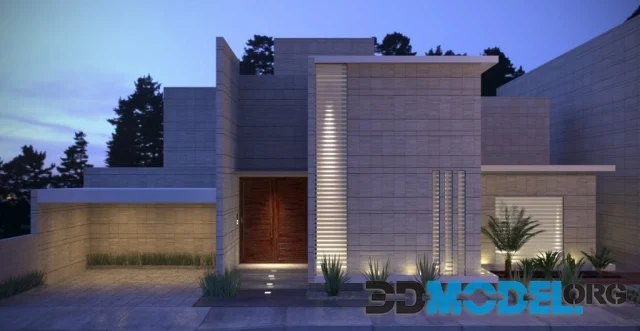
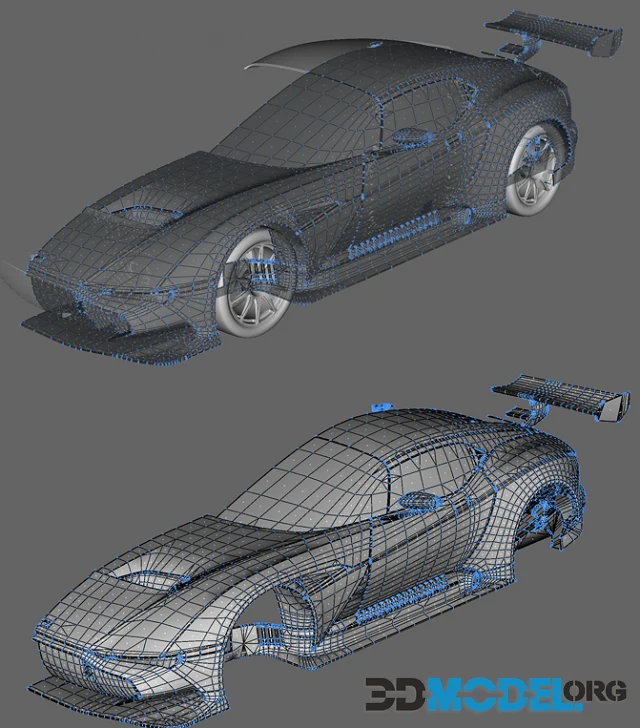
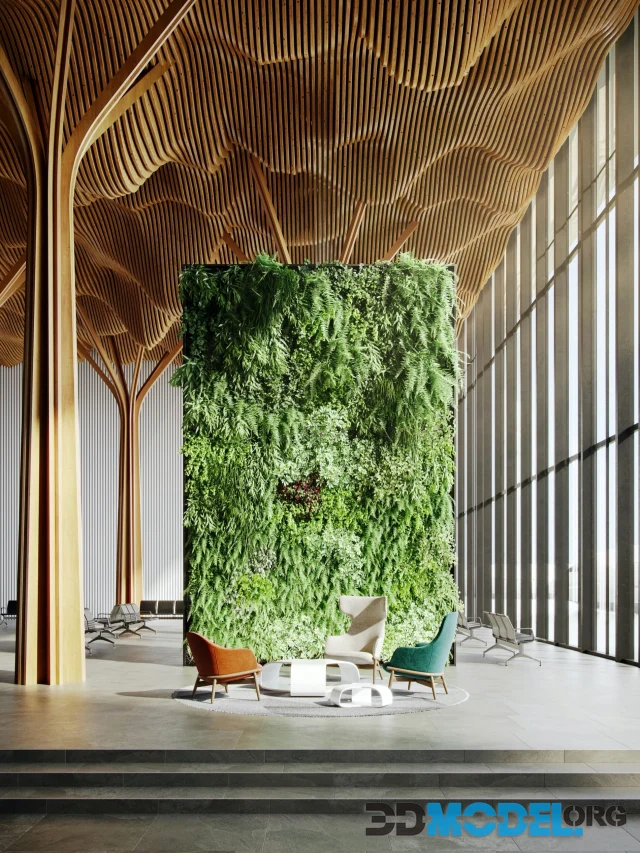
And if you need content for Daz, you can easily find it on our website - link to page. You can download it for free and even without registration. These are 3D models of characters, creatures, props, environments, clothing, poses, accessories, hairstyles, bundles and other materials for Genesis 8, 8.1, 9 Male & Female.
Ctrl
Enter
Noticed a misTake
Highlight text and press Ctrl+EnterRelated news:

Comments (0)
Information
Users of Guests are not allowed to comment this publication.
Users of Guests are not allowed to comment this publication.