Let's talk about the 3D texturing workflow!
We have a lot of articles on our site that deal with 3D in one way or another. We have repeatedly discussed various aspects related to this topic. Today we propose to take a look at what the 3D texturing workflow looks like.
Read on if you are interested!
By the way, you can find a lot of 3D content on our site. For example, collections of 3D models from Evermotion, Archmodels, CGAxis, 3DDD/3DSky, Maxtree, Artstation, 3darcshop, Viz-People, 3D Scan Store, Kitbash 3D, Model+model, Xfrog, AXYZ Design, Anatomy360 for CAD, design, architectural rendering, animation, printing and game development.
However, our hub also includes various plugins and tutorials that will be useful for you when working with 3D-oriented programs.
You can learn or download them all for free and without registration.
Now let's move on.
3D texturing workflow
Below is a chain of sequential steps in 3D texturing.
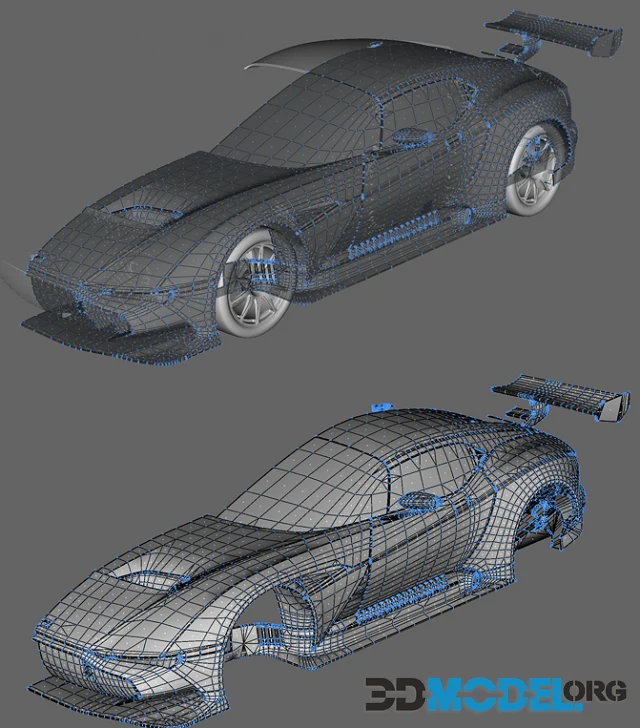
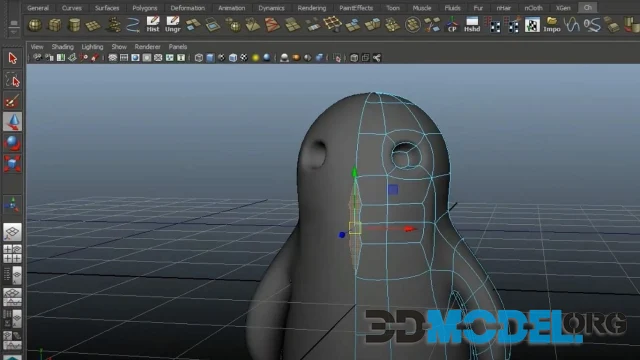
Unfolding and UV mapping
The journey begins with unfolding. We mean unfolding the 3D mesh to create the basis for the texture. Artists develop UV maps to represent 3D objects in 2D space, helping to wrap the image around the 3D object by connecting it to the vertices of the polygons.
To do this, of course, you need a tool.
But its choice depends entirely on your personal preferences. Let us say right away that the wrap can be done manually. Nobody forbids it. But it
can take a lot of time.
If you want maximum quality, you can consider this option. In other cases, the game is not worth the candle.
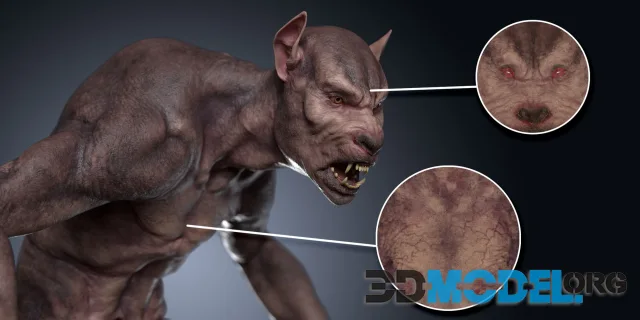
Texture drawing and shading
Making the object look realistic and interact with light is crucial to immersion.
Texturing and shading work together. Their combination determines how light affects the texture of a 2D image. What is texturing? Well, it is, for example, the use of different texture maps: base color, normal, height, diffuse, specular, rough, self-luminous, etc.
Lighting and rendering
The rendering process involves the computation of maps associated with object shaders and lighting scenarios. Texturing, 3D lighting, and rendering are interrelated processes that require coordination of map selection based on the rendering engine's preferences for the final stage of production.
Texture mapping
Final stage. Texture mapping defines how a three-dimensional object is mapped into two-dimensional texture space. It is typically a translation from 3D space to 2D space. There are two types of texture mapping: traditional UV mapping and the newer UDIM and other tile-based texture formats.
Bonus: choosing a proper program
We think the clear best choice for the job is Substance 3D Painter.
It's a powerful and highly customizable tool from Adobe. It was originally developed by Allegorithmic, which was acquired in 2021.
Why do we recommend it? Well, we think it will suffice to say that it is an absolute industry standard. It does a great job of texturing and creating texture sets based on PBR standards.
Ctrl
Enter
Noticed a misTake
Highlight text and press Ctrl+EnterRelated news:

Comments (0)
Information
Users of Guests are not allowed to comment this publication.
Users of Guests are not allowed to comment this publication.