Creating Detailed Buildings for Architectural Visualization in 3ds Max: Techniques and Secrets
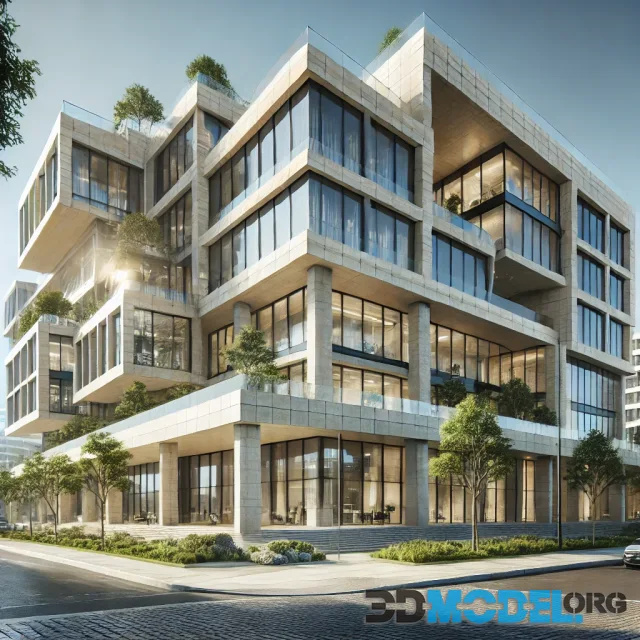
Architectural visualization is an art that blends design, engineering, and 3D graphics into a captivating representation of future projects. One of the most powerful tools for this is 3ds Max, a software renowned for its ability to produce highly realistic architectural scenes. But how do you go beyond just making a model and actually breathe life into your building, giving it the detail and nuance that makes it truly impressive?
In this guide, we will dive deep into the techniques for creating detailed buildings using 3ds Max, from the very first stages of planning to the final touches that make your scene pop with realism.
Starting Off: Preparing Plans and References
Before jumping into polygons and meshes, proper preparation is key. Every architectural visualization begins with a solid building plan. Architects typically provide these in DWG or PDF formats, but if these aren’t available, you’ll need to base your model on sketches, photographs, or even rough measurements.
Collecting references is crucial at this stage. Study similar buildings, their structures, and materials. The more you understand about how buildings are constructed, the easier it will be to replicate those details in 3ds Max. Pay attention to what the walls, roofs, windows, and other components are made of—you’ll need this knowledge for both modeling and texturing later on.
Modeling the Basic Volumes
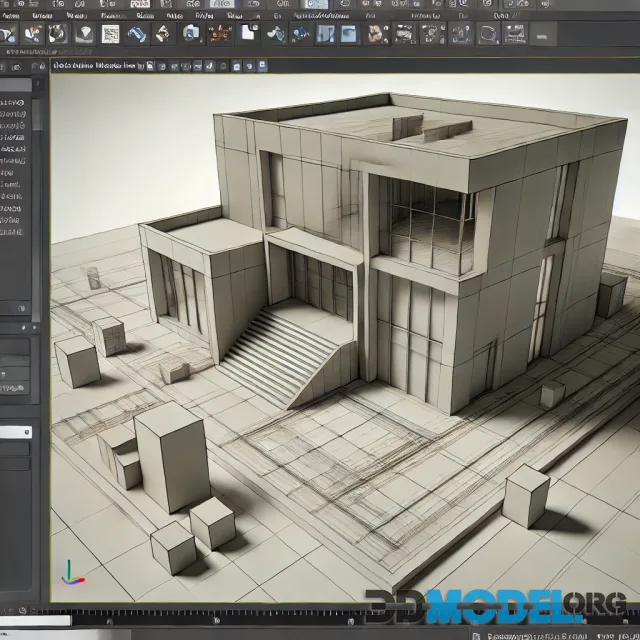
Once you're ready, the first step in 3D is to block out the basic volumes of your building. This is essentially the skeleton of your future project. At this point, there’s no need to dive into fine details—you’re just establishing the proportions and overall structure of the building.
You can start with simple geometric shapes like boxes and cylinders to create the walls, pillars, and basic forms of the building. Use the Box tool for the main walls and Cylinder for columns or rounded structures. Keep your eye on the accuracy of proportions; you want to ensure everything is to scale.
For more complex shapes, use the Edit Poly or Edit Mesh modifiers, which give you more control over the polygons and allow you to create custom forms. If your building includes intricate features like arches, custom windows, or towers, model them separately, then integrate them into the main structure.
Adding the Details: Bringing Your Project to Life
After the basic shape of the building is complete, it’s time to dive into the details. This is where your project really begins to come to life.
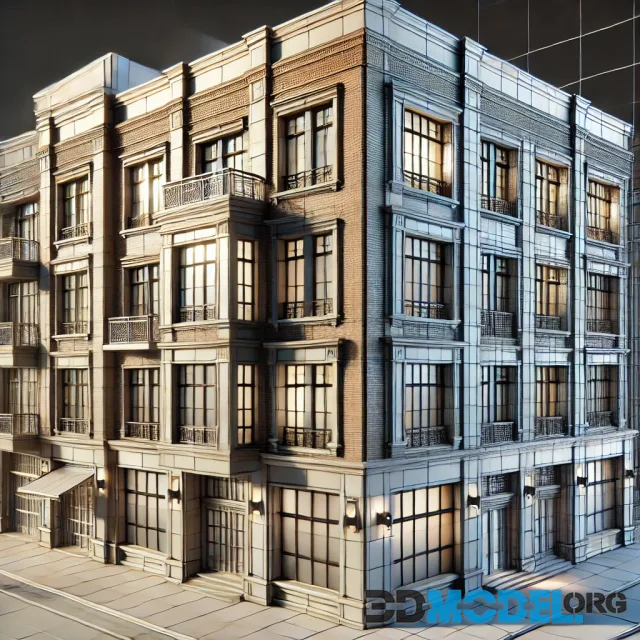
- Façades and Textures: Work on the façade by adding architectural elements like cornices, window trims, brickwork, and decorative panels. Use the Extrude and Inset tools to create raised and recessed details.
- Windows and Doors: Windows and doors are critical elements that provide depth and realism. Use the Boolean modifier to cut openings in the walls. Then, insert detailed models of the windows and doors. Add frames, glass reflections, and even small details like handles for extra realism.
- Texturing: This is one of the most critical steps in making your building look real. High-quality PBR (Physically Based Rendering) textures are essential for achieving realism. Don’t forget to add subtle details like dirt, weathering on the edges of walls, and slight wear on bricks. You can achieve these effects using bump and displacement maps.
At this point, the building starts to transition from a simple 3D model to a photorealistic structure. The more attention you pay to small details, the more authentic the final product will appear.
Lighting: The Key to Atmosphere
Once your model is detailed and textured, it’s time to set up the lighting. Lighting doesn’t just illuminate the scene—it creates the mood and depth, transforming your visualization from good to breathtaking.
- Natural Lighting: For daytime scenes, you can use the Daylight system or V-Ray Sun for realistic sunlight. The position and angle of the sun are crucial in casting natural shadows and highlighting the building’s form. Be sure to experiment with the time of day, as lighting can dramatically alter the perception of the building.
- Artificial Lighting: If your visualization takes place at night, you’ll need to add artificial light sources like street lamps, window lights, or even façade lighting. Remember to work with shadows, as soft and realistic shadows provide depth and make the scene more engaging.
When setting up lighting, don’t forget the importance of reflections and light bouncing off surfaces. This adds a layer of realism that makes the building feel like it exists in the physical world.
Materials and Rendering
Once your lighting is set, the next step is to fine-tune your materials and render settings to achieve a professional-grade image.
- Material Setup: In 3ds Max, you can create a vast range of materials, but for photorealistic results, it’s recommended to use either V-Ray or Corona Renderer. These engines offer advanced controls for creating complex materials with reflections, refractions, and realistic surface imperfections.
- Rendering: The rendering stage is where all your hard work pays off. High-quality rendering settings are crucial to producing a detailed final image. Adjust your render resolution, lighting quality, and shadow sharpness. Testing different settings is a good way to balance quality and render time.
Final Touches: Post-Processing and Effects
After rendering, the journey doesn’t end. To give your image that extra polish, you’ll need to do some post-processing. Most professionals use Photoshop or After Effects for this step.
Adjusting color balance, adding slight lens flares, softening shadows, or even introducing subtle environmental effects like haze or fog can elevate your visualization to the next level. Sometimes adding just a hint of film grain or bloom can make the scene more lifelike.
Making Your Building Look Real: Tricks and Tips
Bringing realism to an architectural visualization isn’t just about getting the right textures or lighting. It’s about combining technical skill with a keen artistic eye. Here are some final tips to make your project stand out:
- Use real-world scale: Always ensure your models are built to accurate dimensions. Even small discrepancies in scale can break immersion.
- Add imperfection: No building is flawless. Adding small cracks, stains, or minor damage can make your model feel more natural.
- Experiment with camera angles: The perspective you choose can drastically affect the impact of the visualization. Try low angles to make the building look imposing or high angles for a more comprehensive view.
By the way, our website has a great section with architectural 3d models, where you can download hundreds of useful objects for your projects for free. All models are supplied in .max format.
Conclusion: Breathing Life into Your Project
Creating detailed buildings for architectural visualizations in 3ds Max is an intricate process that requires careful attention to every step—from the basic structure to the finest details and final rendering. The key to success lies in mastering the tools, understanding the real-world principles of architecture, and embracing the artistic side of visualization.
Remember, it’s not just about creating a technically perfect model. It’s about telling a story through design, lighting, and detail. Let your creativity flow, and don't be afraid to push boundaries. Only through passion and attention to detail can your architectural visualizations come to life, transforming a simple 3D model into an awe-inspiring vision of the future.
By following these steps, you can ensure that your architectural visualizations will captivate and inspire, leaving a lasting impression on clients and viewers alike.
Ctrl
Enter
Noticed a misTake
Highlight text and press Ctrl+EnterRelated news:
Comments (0)

