How to Create Stunning Animated Characters in ZBrush
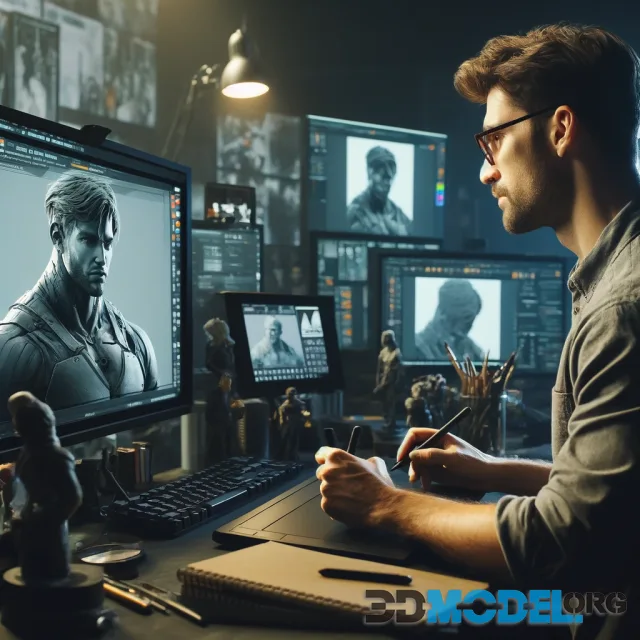
ZBrush is a premier 3D sculpting tool used by professionals in the gaming, film, and animation industries to create detailed and expressive characters. In this article, we will explore the comprehensive process of creating animated characters in ZBrush, covering everything from basic concept to final touches.
Stage 1: Concept and Sketches
The first step in character creation is developing conceptual sketches. This helps define the character's appearance and features. Utilize ZBrush tools like ZSketch or Sculptris Pro to quickly establish basic shapes and volumes. This phase is crucial for setting the tone of the character without committing to intricate details too early.
Stage 2: Blocking and Basic Forms
Next is the blocking stage, where you start with primitives or simple meshes that gradually evolve into more complex shapes. Use Dynamesh to create a unified topology that allows for easy detail addition without worrying about mesh structure. This feature dynamically re-topologizes the mesh as you sculpt, which is particularly useful for making significant changes to the form without losing detail.
Stage 3: Adding Details
Once the main shape of the character is established, begin adding details. Increase mesh resolution by using Subdivision levels, which preserves the ability to make global changes while refining the surface. Employ tools like Standard Brush, Dam Standard Brush, and Clay Buildup Brush to sculpt fine details such as wrinkles, scars, and skin textures. These brushes are essential for adding realism and depth to the character.
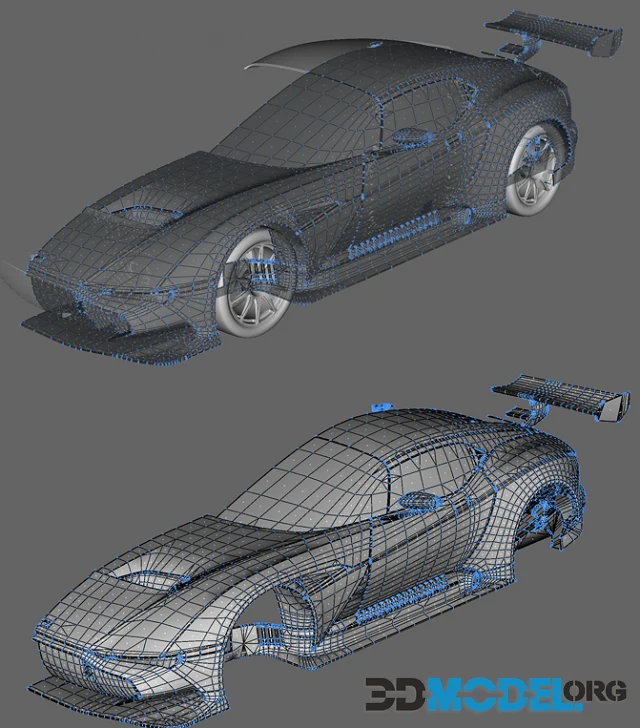
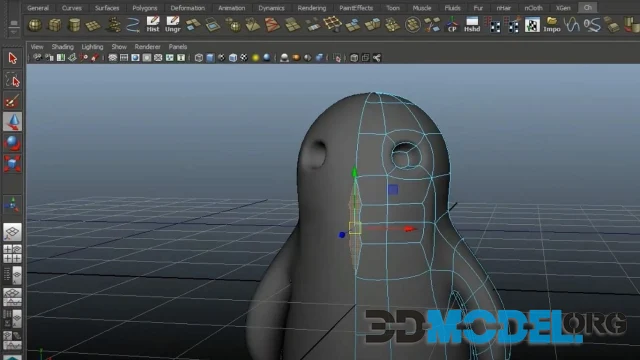
Stage 4: Retopology and UV Unwrapping
For animation, the character needs clean topology. Use ZRemesher to generate a new, more optimized topology. After achieving a satisfactory mesh structure, employ UV Master to automatically unwrap the UVs, facilitating efficient texture mapping. This step is vital for ensuring that textures will look correct on the 3D model and that the seams are minimally visible.
Stage 5: Polishing and Texturing
Apply color and texture details directly within ZBrush using Polypaint, which speeds up the process and integrates seamlessly with sculpting. For more complex textures, use Spotlight to project images onto the model, allowing for precise texture placement and detailing. This method is particularly useful for creating highly detailed and realistic textures that enhance the character's visual appeal.
Stage 6: Exporting to Other Programs
The final step is preparing the character for export. Use GoZ to send the model to other programs such as Maya or 3ds Max for further animation or rendering. Ensure that all details are correctly exported and that the model functions properly in the target application. This integration between ZBrush and other 3D software is crucial for maintaining workflow efficiency and model integrity.
Conclusion
Creating animated characters in ZBrush is a complex process that requires attention to detail and a creative approach. I hope this guide will help enhance your skills and inspire new creative projects.
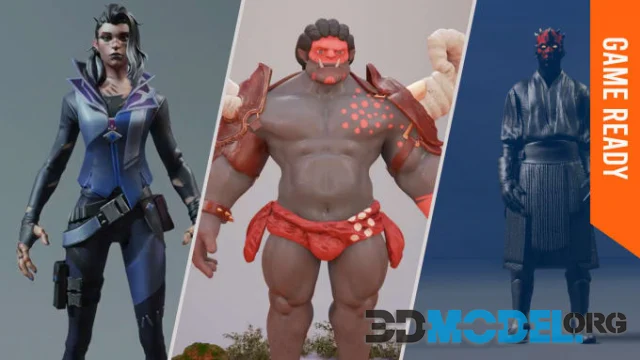
Furthermore, if you need additional resources or ready-made 3D character models for use in games or architectural visualization, visit our section here where you can download a variety of high-quality models for free, created by professional artists. These resources can save time and provide a solid starting point for learning and experimentation.
Ctrl
Enter
Noticed a misTake
Highlight text and press Ctrl+EnterRelated news:

Comments (0)
Information
Users of Guests are not allowed to comment this publication.
Users of Guests are not allowed to comment this publication.