Using Substance Painter for Creating High-Detail Textures
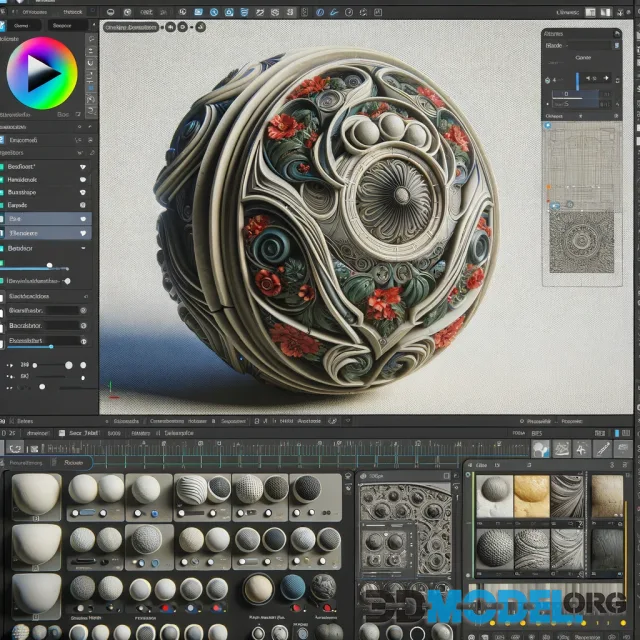
Substance Painter is a powerful and versatile software tool for creating textures. It allows artists to produce high-quality PBR (Physically Based Rendering) textures for 3D models. This tool is widely used in the gaming industry, film production, and visual effects due to its extensive capabilities and flexibility. In this article, we will go through the main stages of working in Substance Painter, as well as the key settings and tools that will help you achieve outstanding results.
Preparing the Model
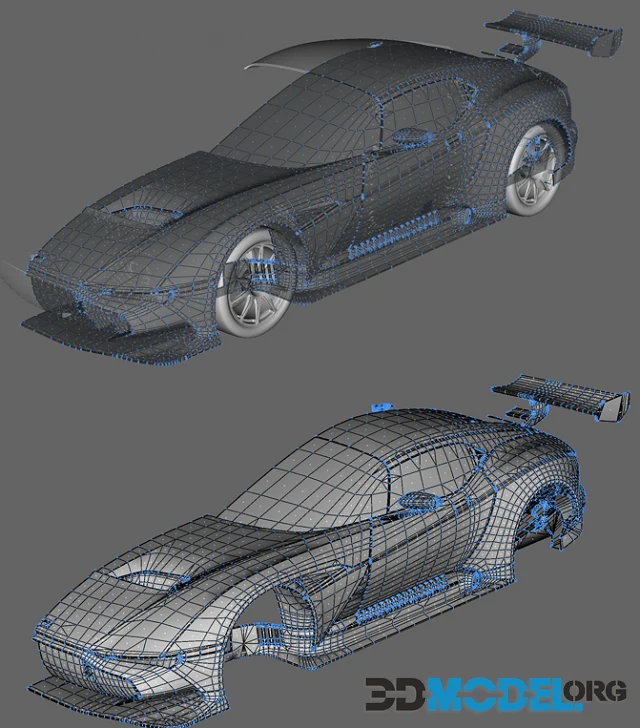
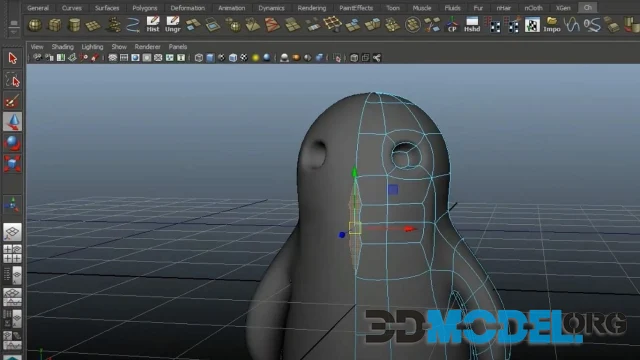
Before starting work in Substance Painter, it is essential to prepare your 3D model. The model should be exported from a 3D editor (such as Blender, Maya, or 3ds Max) in FBX or OBJ format. Ensuring that the model has properly laid-out UV maps is crucial, as this directly impacts the quality of texturing.
- UV Layout Check: Make sure your model's UV layout does not contain overlapping areas and has sufficient resolution to create detailed textures. Overlapping UVs can cause issues during the baking process and texture application.
- Model Export: Export the model in FBX or OBJ format with UV maps included. Ensure that the model is triangulated if required by the target application.
Importing the Model into Substance Painter
- Creating a New Project: Launch Substance Painter and create a new project by selecting the file format of your model (FBX or OBJ). Specify the resolution of the textures you plan to work with, such as 2048x2048 or 4096x4096. Higher resolutions will result in more detailed textures but require more processing power.
- Model Import: Click the "Select" button and choose your model file. Then, click "OK" to import the model into the project. Ensure that your model's scale and orientation are correct upon import.
Baking Mesh Maps
Baking maps is a crucial step that transfers geometry information from your model onto textures. Substance Painter can create various maps, such as Normal, Ambient Occlusion, Curvature, and more. These maps are essential for generating detailed materials and effects.
- Baking Setup: Navigate to the "Texture Set Settings" menu and select the "Bake Mesh Maps" tab. Configure the necessary parameters for each map, such as the output size, antialiasing settings, and dilation width. For normal maps, choose whether to bake from a high-poly mesh or use the low-poly mesh directly.
- Quality Control: Check the resulting maps for artifacts and adjust the parameters if necessary. Ensure that details are captured accurately and that no unwanted artifacts are present.
Using Materials and Textures
Substance Painter provides access to a library of materials and textures that can be used to create base layers for your models.
- Adding Materials: Go to the "Shelf" panel and choose the material you need. Drag and drop it onto your model to apply it. You can layer multiple materials to achieve complex effects.
- Material Parameters Adjustment: Adjust material parameters such as base color, roughness, metallicness, and height to achieve the desired look. Use the material's additional properties to fine-tune details like anisotropy, subsurface scattering, or clear coat effects.
Working with Brushes and Masks
Brushes and masks are the primary tools for creating detailed textures in Substance Painter.
- Brush Selection: In the "Shelf" panel, choose a brush that suits your needs, such as a soft brush for smooth transitions or a hard brush for sharp lines. Experiment with different brush types to find the one that works best for your specific texture requirements.
- Brush Parameters Adjustment: Adjust brush parameters like size, hardness, and shape. You can also use alphas to create complex patterns and details. Custom alphas can be imported to expand your brush options further.
- Creating Masks: Masks allow precise control over areas where materials and effects are applied. Select the layer you want to mask and use mask tools to highlight the desired areas. You can paint masks manually or use procedural masks based on various criteria like position, curvature, or ambient occlusion.
Using Smart Materials and Smart Masks
Substance Painter offers the use of Smart Materials and Smart Masks, which significantly simplify the process of creating complex textures.
- Smart Materials: These materials automatically adapt to the geometry of the model, creating realistic wear, dirt, and other details. Select a Smart Material from the "Shelf" panel and apply it to your model. Smart Materials often include multiple layers with predefined masks and effects.
- Smart Masks: These masks use information from maps (such as Curvature and Ambient Occlusion) to automatically create realistic masks. Select a Smart Mask and apply it to a layer to add detailed effects. Adjust the mask parameters to fine-tune the results.
Advanced Techniques and Tips
Layer Management
Managing layers effectively is crucial for maintaining a non-destructive workflow in Substance Painter.
- Layer Organization: Keep your layers organized by naming them appropriately and grouping related layers. Use folders to group layers that contribute to a specific part of the texture or effect.
- Layer Blending Modes: Experiment with different blending modes for layers to achieve various visual effects. Modes such as Multiply, Screen, Overlay, and Soft Light can dramatically change the appearance of textures.
Using Anchor Points
Anchor Points are a powerful feature in Substance Painter that allow you to reference the result of one layer or effect in another.
- Setting Up Anchor Points: Right-click on a layer and select "Add Anchor Point". This will create a reference point that can be used in other layers.
- Utilizing Anchor Points: In another layer, use effects like Height, Normal, or Mask Editor and choose the anchor point as a reference. This technique is useful for creating complex effects like edge wear, where you want the wear to be consistent with other details on the model.
Custom Shaders
Substance Painter supports custom shaders, which can be used to achieve specific visual effects or to match the look of a particular rendering engine.
- Importing Custom Shaders: Download or create a custom shader and import it into Substance Painter via the "Shader Settings" panel.
- Shader Configuration: Adjust the settings of the custom shader to match your project's requirements. Custom shaders can be used to preview how textures will look in different lighting environments or with specific rendering techniques.
Exporting Textures
After completing the texturing process, it is essential to export the textures for use in 3D applications or game engines.
- Export Settings: Go to the "File" menu and select "Export Textures". Configure the export settings, including file format (such as PNG, TGA, or EXR) and resolution. Ensure that the export settings match the requirements of your target application.
- Export Presets: Choose an appropriate export preset based on the application or engine where the textures will be used (e.g., Unreal Engine, Unity, V-Ray). Presets ensure that the exported maps are correctly configured for the target environment.
- Export Process: Click "Export" to complete the process. Review the exported textures to ensure they meet your quality standards and are free of artifacts.
Conclusion
Substance Painter provides incredible capabilities for creating high-quality textures. By mastering the essential tools and techniques, you can create detailed and realistic textures for any project.
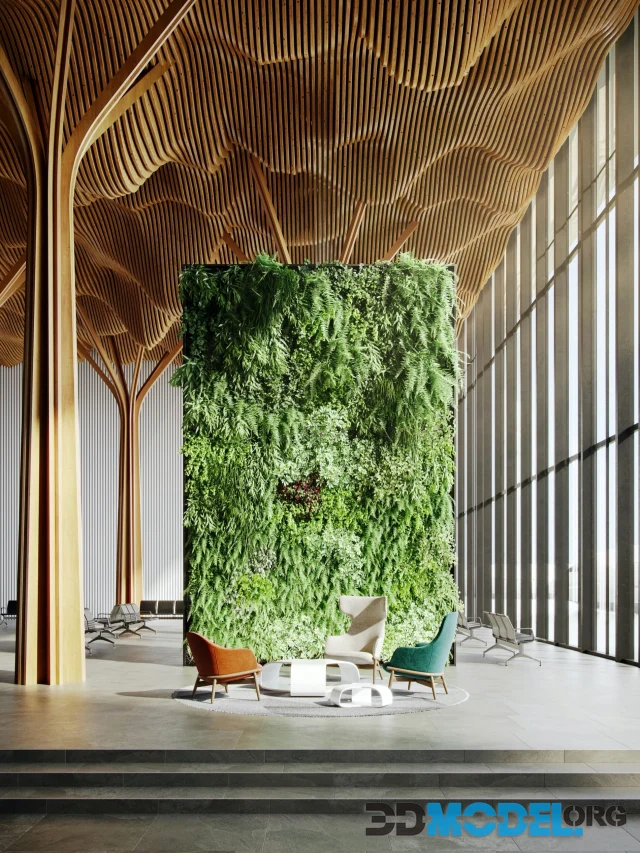
For high-quality PBR textures for 3D rendering and game projects, visit our PBR Textures section, where you will find a variety of free textures.
If you are looking for large collections of textures and materials for 3D applications, check out our Textures and Materials section, where you can download extensive sets for your projects.
Using these resources will significantly speed up the process of creating quality textures and enhance the level of your work.
Ctrl
Enter
Noticed a misTake
Highlight text and press Ctrl+EnterRelated news:


Comments (0)
Information
Users of Guests are not allowed to comment this publication.
Users of Guests are not allowed to comment this publication.