Character Animation Basics in Maya From Rigging to the Final Scene
Character animation is an art form that brings 3D models to life, turning them from static, lifeless figures into dynamic, expressive beings that can move, emote, and interact with their environment. For beginners just diving into the world of 3D animation, Maya is a powerful tool that opens up a universe of creative possibilities. However, it can feel overwhelming at first due to the complexity of the process - from rigging to animating and finally rendering. Let’s walk through the key steps you need to understand to master character animation in Maya and breathe life into your creations.
What is Rigging, and Why Is It Important?
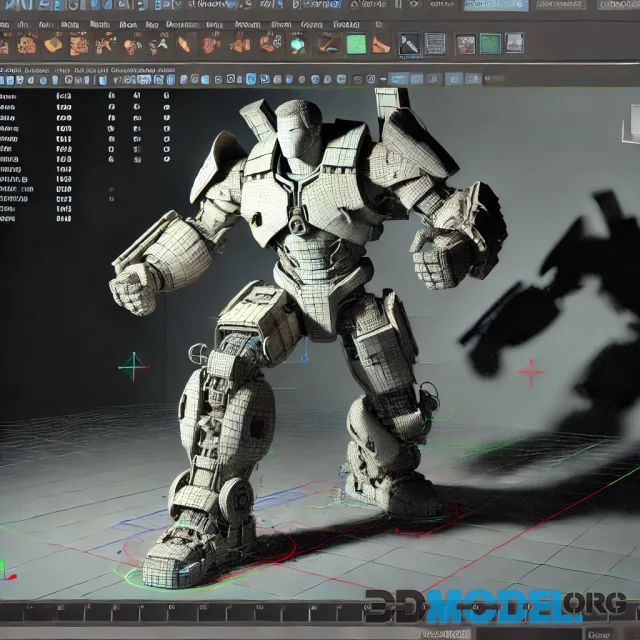
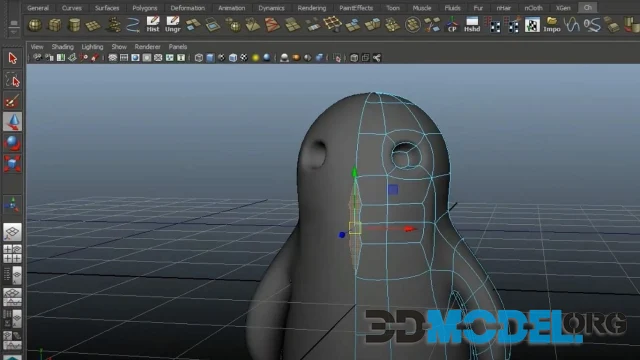
Rigging is the foundation of any animated character. It’s the process of building a skeleton, or "rig," that controls how the character moves. Think of it like a puppet: without strings, the puppet can’t move, and similarly, without a rig, your character will remain static.
In Maya, rigging involves creating a skeletal system that can be attached to the 3D model. You then assign control points, called "controllers," which allow animators to move the character's body parts. These controllers can control everything from a simple head turn to complex hand gestures.
The beauty of rigging is that it offers tremendous flexibility. For example, you can rig a character’s arm so that it bends naturally at the elbow or rotates at the wrist. A well-designed rig makes it easier for animators to create natural, fluid motions. Conversely, a poorly designed rig can limit what your character can do, leading to stiff or unrealistic animations.
- Create the skeleton structure for your model.
- Add controllers to allow movement of body parts.
- Test the rig by moving different parts to ensure smooth, natural motion.
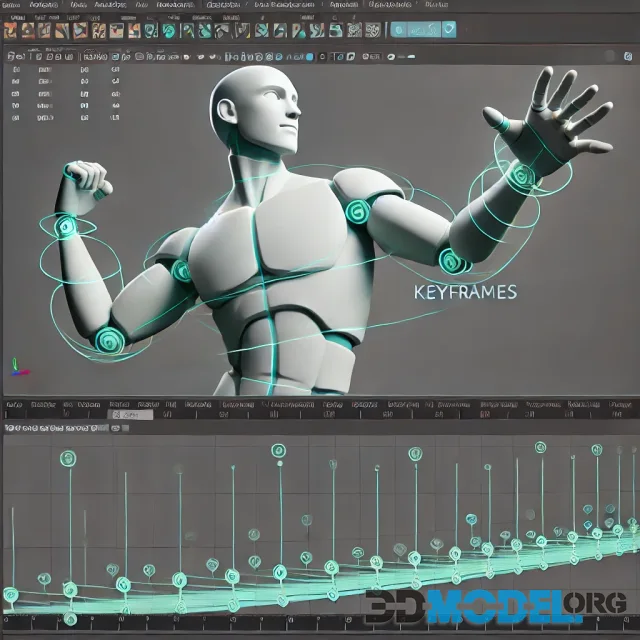
The Power of Keyframes in Animation
Once your character is rigged, you can start animating. One of the foundational principles of animation is the use of keyframes. Keyframes mark significant positions or poses in an animation sequence. Maya then calculates the in-between frames - known as interpolation - giving your character smooth transitions between these key poses.
Imagine animating a character raising their hand. You set one keyframe where the hand is down by the character’s side and another where the hand is raised above their head. Maya will automatically fill in the intermediate frames, creating a fluid motion.
However, relying purely on interpolation isn’t enough. As an animator, it’s essential to adjust and refine the animation to make it feel alive. Subtle movements, like a head tilt or a slight shift in posture, can make a significant difference in how natural your animation looks. These small touches add personality and emotion to your characters.
- Set keyframes for important poses or movements.
- Adjust the timing and spacing between keyframes to control the speed of actions.
- Refine movements by adding secondary actions, like head tilts or hand gestures.
Facial Animation: The Key to Expressing Emotion
Facial animation is where the magic of character animation truly comes to life. A character’s face is their emotional canvas, and getting it right is critical to making your animation feel believable. In Maya, facial animation is often done using blend shapes, a technique where you create different versions of a character's face—one for a smile, another for a frown, and so on - and then transition between these versions smoothly.
Beyond blend shapes, you’ll also use controllers for specific facial features like eyes, mouth, and eyebrows. Fine-tuning these details can make a world of difference. For example, raising an eyebrow while smiling can completely change the mood of your character, from a polite greeting to a sly smirk.
The synchronization between facial expressions and body movement is vital. If your character’s face is expressing surprise, their body should reflect it too, maybe with a quick backward step or a sudden halt in motion. A well-animated face draws the audience into the character’s emotions, making them feel more connected to the story.
The Mechanics of Movement: Walking, Running, and Jumping
One of the biggest challenges for beginner animators is mastering the mechanics of human (or non-human) movement. Walking, running, and jumping each have their own unique patterns and rhythms, and getting them right requires attention to detail.
Maya makes this easier through animation loops. For example, when animating a walk cycle, you can create a series of keyframes for one step, then loop the animation to create continuous walking. But even within these loops, it’s important to introduce variation. A perfectly identical loop will make the movement look robotic. By adding slight differences - like a head bob or a change in arm swing - you can make the animation feel more lifelike.
Physics also play a huge role in how your character moves. Let’s take jumping as an example. Before your character leaves the ground, their body needs to crouch down, gathering energy. As they rise, their limbs extend, and once they land, their body compresses again to absorb the impact. These subtle details not only make the action more realistic but also give it weight and believability.
Timing and Spacing: The Heartbeat of Animation
In character animation, timing and spacing are critical. Timing refers to how long an action takes, while spacing refers to how much distance the character moves in each frame. Both of these elements define the "feel" of the animation—whether it’s fast and snappy or slow and deliberate.
For example, when animating a punch, you want the arm to snap forward quickly, but slow down as it pulls back. This creates a sense of impact and adds energy to the movement. In contrast, a graceful dance move will have smooth, evenly spaced frames, creating a sense of elegance and flow.
Maya allows you to manipulate timing and spacing through its graph editor, where you can adjust curves to refine how movements accelerate and decelerate. This is where the finesse of animation happens. By tweaking these curves, you can control the weight, speed, and impact of every movement.
Animating the Camera: Adding Drama and Emotion
The character’s movements aren’t the only thing that drives emotion in an animated scene. The camera plays a huge role in how the audience perceives the action. Maya gives you full control over camera placement, movement, and angles, allowing you to turn a simple scene into a cinematic masterpiece.
Consider a dramatic reveal: instead of just animating the character’s reaction, you can move the camera to slowly zoom in on their face, heightening the tension. Or, during a fast-paced action sequence, you can animate the camera to shake slightly, giving the audience the feeling of being in the middle of the chaos.
By thinking about the camera as an extension of your storytelling, you can significantly enhance the emotional impact of your scenes.
Final Scene Setup: Lighting, Textures, and Rendering
Once your animation is polished, it’s time for the final scene setup. This step is all about adding the finishing touches: lighting, textures, and rendering. Even the best animation can look flat and unconvincing without proper lighting. In Maya, you can experiment with different light sources - directional, point, and spotlights - to create the desired mood for your scene.
For example, harsh lighting can make a scene feel tense, while soft, diffused lighting adds warmth and softness. Shadows also play a key role in defining the depth and atmosphere of your scene.
Textures and materials are equally important. Maya’s powerful rendering engines, like Arnold, allow you to apply realistic materials to your character, from skin and hair to clothing. These materials interact with the lighting in your scene, enhancing the overall realism.
Rendering is the final step. This is where your animation is processed into the final images or video that will be displayed on the screen. Depending on the complexity of your scene, rendering can take some time, but it’s well worth the wait when you see your fully lit, textured, and animated character come to life.
Conclusion: Your Journey into Character Animation
Character animation in Maya is a blend of technical skill and creative artistry. From the rigging that forms the backbone of your character’s movements to the final rendered scene, every step plays a vital role in bringing your creations to life. While it might feel challenging at first, the reward is seeing your characters move, express emotions, and tell stories in ways that feel truly real.
Your journey as an animator has just begun, and there is always more to learn. But with every step, you’re mastering the language of movement, emotion, and storytelling - a language that can connect with audiences across the world.
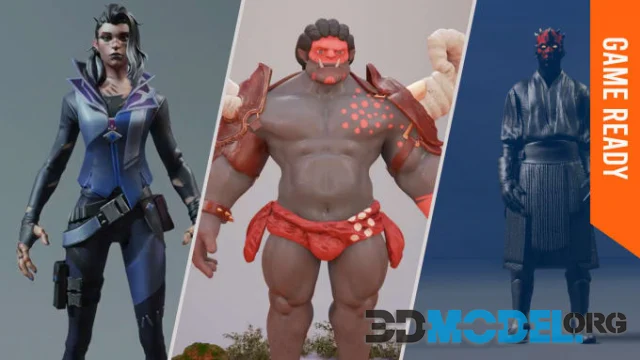
Don't forget to check out our ready-made 3D character models section (here's the link), where you can download hundreds of female and male figures for design and gaming projects.Many come in 3D scanned hi-Poly format, but there are also low-poly ones with animations for games. File formats: max, fbx, blend, obj and others.
Ctrl
Enter
Noticed a misTake
Highlight text and press Ctrl+EnterRelated news:
Modeling 3D Characters for Game Projects
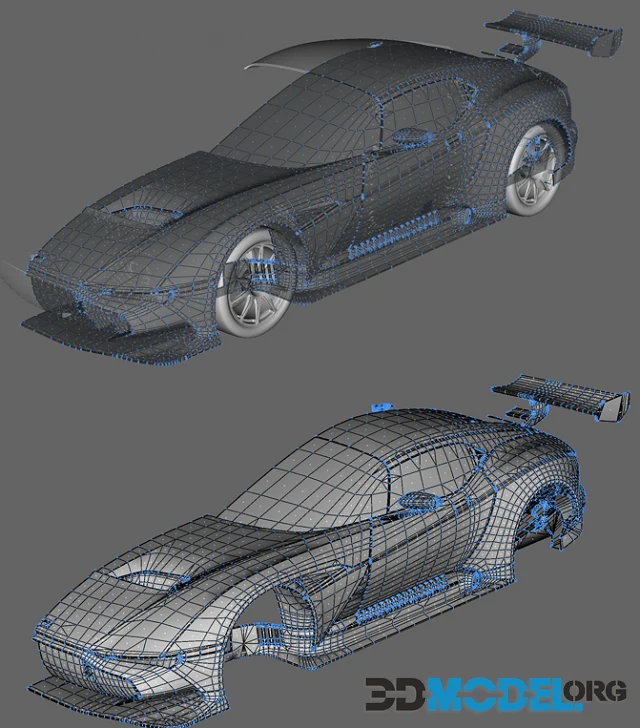
How to Create 3D Models of Cars

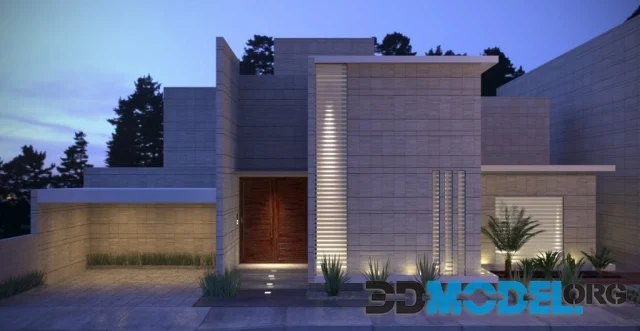
Creating Detailed Buildings for Architectural Visualization in 3ds Max: Techniques and Secrets
Best 3D modeling programs for beginners
Vray vs Corona for Architectural Rendering

How to Create Realistic Architectural Renderings in 3ds Max
Comments (0)
Information
Users of Guests are not allowed to comment this publication.
Users of Guests are not allowed to comment this publication.