A word or two about 3D prototyping
3D prototyping is the process of creating a physical prototype of an object based on its digital model by printing it layer by layer. In this article, we'll talk about exactly how prototyping works, what printing methods are available, and what materials are used in the process.
Why do you need prototyping?
Prototyping is used in dozens of different fields.
No, really. Hundreds of different fields.
And we're not just saying that to raise a red flag. Before you start manufacturing a new product, you should always test a technical sample - it allows you to save your budget and avoid a lot of mishaps. As for areas where prototyping is actively used, here are just a few:
- Aviation
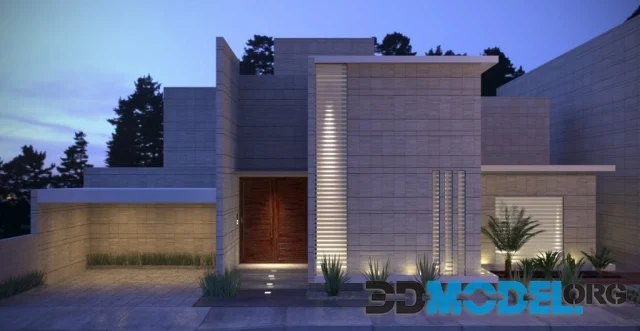
- Architecture
- Mechanical engineering
- Medicine (probably the most active of the above - only aviation, industry, and mechanical engineering come close)
- Education
- Production of household goods
- Industry and construction
Prototyping technologies
There are the following variations of prototyping technologies:
- SLA - this uses a liquid photopolymer with added reagents. The mixture is polymerized using an ultraviolet laser and the layers are sequentially built up on a moving substrate.
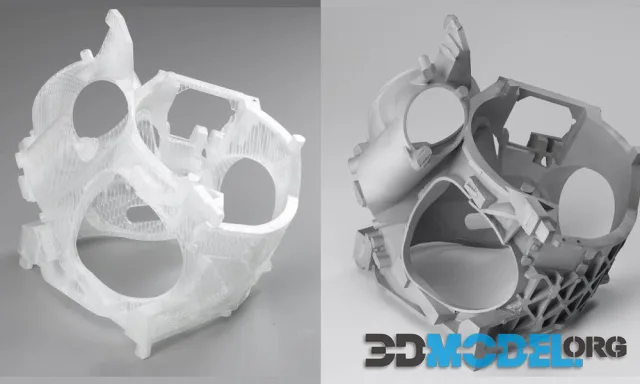
- SLS - this one uses powder to build the model layer by layer. The material is spread evenly over the surface and then individual areas are baked using a laser. There are really a lot of material variations. For example, it can be plastic, metal, glass, casting wax or ceramic.
- FDM - in this technology, each layer is applied with molten material that is extruded through a nozzle. Often some kind of plastic is used for printing, but other materials can also be used. It could even be metal - why not? Perhaps the only serious drawback to this approach is that the objects will be of very poor quality. But it's still cheap.
- MJM - devices for the application of this technology are developed by 3D System. The production of the model is based on the principle of standard inkjet printing. The material is fed through nozzles located on the print head. The consumables are preheated and then fed into the extruder, which actually prints the layers of the part.
How are prototypes created?
Finally, let's discuss how prototypes are created in the first place.
Creating a file
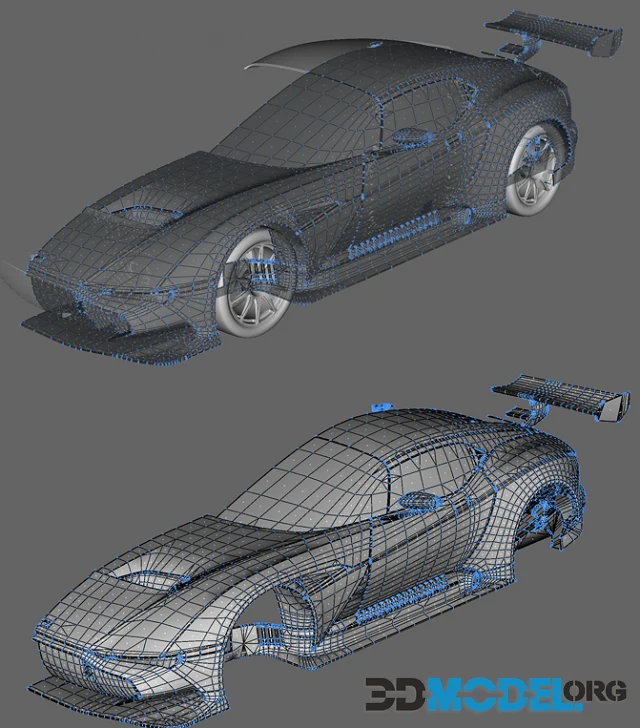
The first thing you need to do is create a project file. There are many different formats that are supported by a 3D printer. These include STL, OBJ, AMP, and 3MF. Once you have the file, you can proceed to the next step. By the way, you can download STL models in all these formats from our website for free and without registration. Moreover, if you need, you can go to the neighboring categories dedicated to architectural projects and find us FBX files.
Interior decoration, furniture, lighting fixtures, children's room objects, plants, and so on!
Pre-processing
The second step is to slice the 3D model into layers using software. Once sliced, the file is ready for printing and can be transmitted over the Internet. Or any other digital medium.
Printing
This is actually the most important step. When the sliced file is loaded into the printer, the printing process begins. The machine creates the part by applying a layer of material (which you should prepare in advance, by the way).
Testing
The final stage of 3D prototyping is complete. Now it's time to inspect and test what you have. By the way! You can also give the prototype to a potential client to check if it meets all their requirements or if it needs to be finalized.
Good luck!
Ctrl
Enter
Noticed a misTake
Highlight text and press Ctrl+EnterRelated news:

Comments (0)
Information
Users of Guests are not allowed to comment this publication.
Users of Guests are not allowed to comment this publication.