Creating Photorealistic Textures in Blender: A Step-by-Step Guide
Creating Photorealistic Textures in Blender: A Step-by-Step Guide
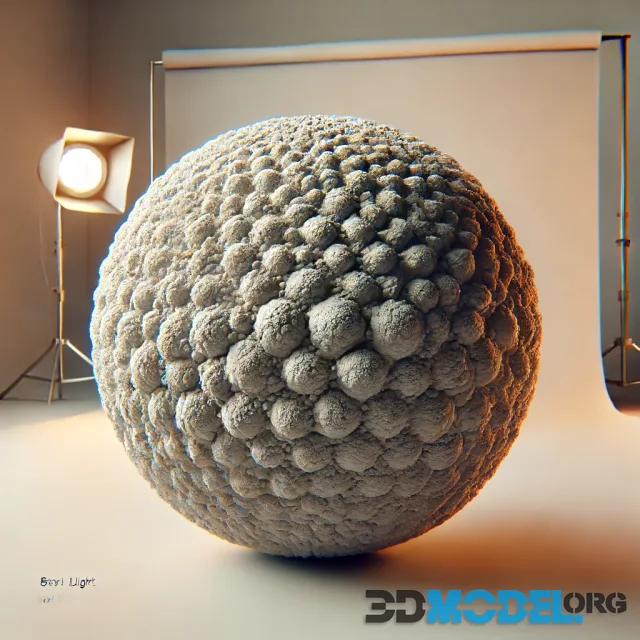
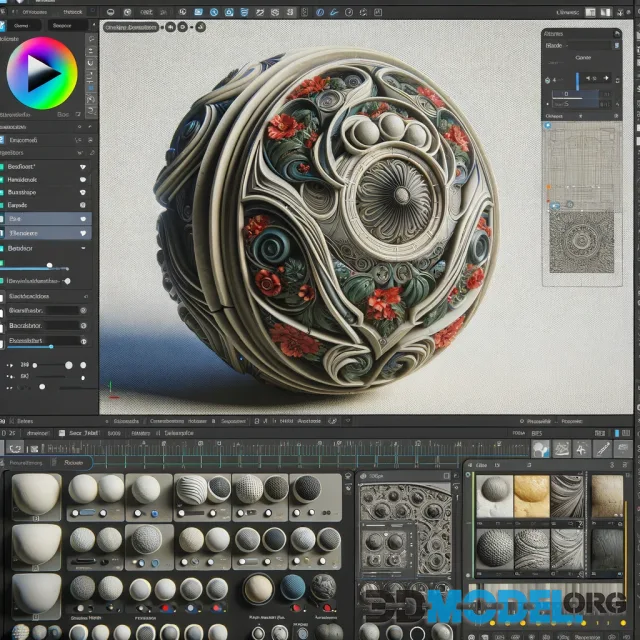
Photorealistic textures play a crucial role in making 3D scenes and models look realistic. This article delves into the process of creating such textures in Blender, starting from basic steps to more advanced techniques. Blender is a powerful tool for 3D modeling and rendering, enabling the creation of high-quality textures using various methods and tools.
Step 1: Preparing the Model
Before starting the texturing process, it's essential to prepare the model. Properly unwrapping the model is critical, as it ensures that textures will be displayed correctly. Unwrapping (UV mapping) is the process of translating a 3D surface to a 2D space for texture application.
Preparing the UV Map
- Select the Model: In Object Mode, select your model.
- Switch to Edit Mode: Change to Edit Mode to start working on the UV map.
- Unwrap the Model: Use the Unwrap tool to create a UV map. For simple objects, the "Unwrap" command is often sufficient, but for more complex models, you may need to use seams. Seams define where the model will be cut for unwrapping.
- Check the UV Map: In the UV Editor, ensure that all parts of the model are evenly distributed and not overlapping.
Advanced UV Mapping Techniques
For more complex models, consider using advanced UV mapping techniques:
- Smart UV Project: Automatically unwraps the model based on angle thresholds.
- Lightmap Pack: Useful for baking lightmaps and generating UVs for lightmapping.
- Follow Active Quads: Aligns UVs based on existing UVs of a selected face.
Properly preparing the UV map is crucial, as it will affect how textures wrap around your 3D model, ensuring that they appear correctly without distortion or stretching.
Step 2: Creating the Base Texture
With the UV map ready, you can start creating the base texture.
Using Procedural Textures
Procedural textures are generated using mathematical formulas rather than images. They can be used to create basic textures such as noise, wood, stone, and more.
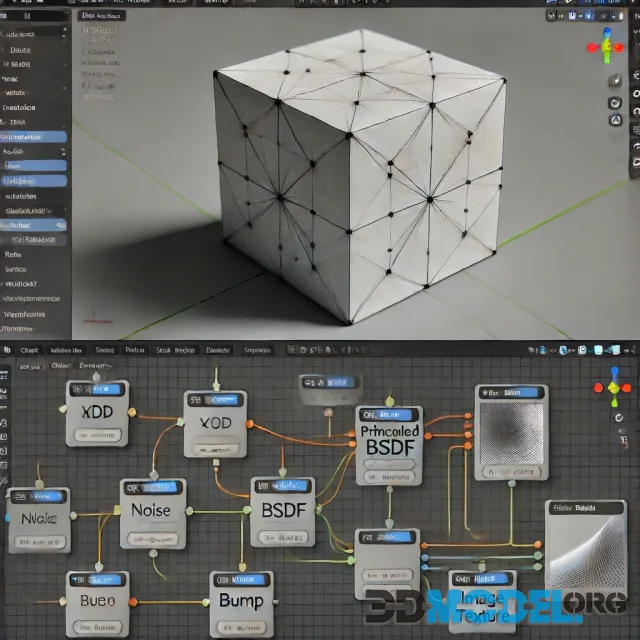
- Switch to Shading Workspace: Create a new material for your model.
- Shader Editor: In the Shader Editor, connect a "Principled BSDF" node to the material output.
- Add Noise Texture: Add a "Noise Texture" node and connect it to the "Base Color" input through a "ColorRamp" node to control the colors of the noise.
- Adjust Noise Texture: Modify the parameters of the "Noise Texture" node (Scale, Detail, Roughness) to achieve the desired effect.
Creating Textures Using Images
If you prefer to use an image as a texture, follow these steps:
- Shading Workspace: Create a new material in the Shading workspace.
- Shader Editor: Add an "Image Texture" node and connect it to the "Principled BSDF" node.
- Load Image: Click "Open" in the "Image Texture" node and select your texture image.
- Check UV Map: Ensure that the UV map correctly displays the texture on the model. Adjust the UV map if necessary.
Advanced Texture Mapping
To enhance the realism of your textures, use advanced mapping techniques:
- Box Mapping: Useful for objects with multiple faces, avoiding visible seams.
- Triplanar Mapping: Blends textures from three orthogonal directions, ideal for organic shapes.
- Stenciling: Combines multiple textures using masks to add detailed features.
Step 3: Adding Details with Nodes
To make the texture look photorealistic, additional details like bumps, scratches, and other effects need to be added.
Using Bump Maps for Surface Imperfections
- Add Bump Node: In the Shader Editor, add a "Bump" node.
- Connect Texture: Link a texture that will create bumps to the "Height" input of the "Bump" node.
- Connect Bump Node: Connect the output of the "Bump" node to the "Normal" input of the "Principled BSDF" node.
- Adjust Bump Parameters: Modify the "Strength" and "Distance" parameters of the "Bump" node to achieve the desired effect.
Creating Normal Maps
Normal maps add depth and detail to a texture without increasing the model's polygon count.
- Create Normal Map: Use software like Substance Painter or Photoshop to create a normal map.
- Import Normal Map: Add the normal map in Blender by using an "Image Texture" node.
- Connect Normal Map: Link the normal map to a "Normal Map" node, then connect the output to the "Normal" input of the "Principled BSDF" node.
Using Roughness Maps for Reflection Control
- Add Roughness Map: Add an "Image Texture" node and load the roughness map.
- Connect Roughness Map: Connect the roughness map to the "Roughness" input of the "Principled BSDF" node.
- Adjust Roughness: Modify the parameters to control the level of reflections on the model's surface.
Adding Specular and Metallic Maps
- Specular Map: Create or load a specular map to control the shininess of specific areas.
- Metallic Map: Use a metallic map to determine which parts of the model should have a metallic appearance.
- Connect Maps: Link the specular and metallic maps to the respective inputs on the "Principled BSDF" node.
Step 4: Setting Up Lighting and Rendering
Lighting plays a vital role in creating photorealistic images. Proper lighting will enhance the textures and make them look more realistic.
Setting Up Lighting
- Add Light Sources: Add key light, fill light, and back light to your scene.
- Key Light: The main light source, usually the strongest.
- Fill Light: Softens shadows created by the key light.
- Back Light: Adds depth and separates the model from the background.
- Adjust Light Settings: Modify the intensity, color, and size of each light source to achieve the desired effect.
- Use HDRI Images: Add HDRI images to the environment settings to create realistic ambient lighting.
Rendering Settings
- Render Properties: Go to the Render Properties tab and choose the render engine (Cycles or Eevee).
- Render Settings: Adjust settings such as samples, resolution, and denoising to enhance the final output.
- Render Image: Render the image and review the result. Make any necessary adjustments to materials, lighting, or render settings.
Step 5: Final Touches and Post-Processing
After rendering, you can apply post-processing techniques to improve the final result.
Post-Processing in Blender
- Compositing Workspace: Switch to the Compositing workspace and enable nodes.
- Add Nodes: Add nodes for glare, color balance, lens distortion, and other effects.
- Adjust Node Settings: Fine-tune the parameters of each node to enhance the image.
External Post-Processing
- Export Render: Export the rendered image in a suitable format (e.g., PNG, EXR).
- Use External Software: Use software like Photoshop or GIMP for additional editing.
- Apply Effects: Add effects such as color correction, contrast, and sharpening.
Creating photorealistic textures in Blender requires careful attention to detail and the use of various techniques and tools. By following this step-by-step guide, you can produce high-quality, realistic textures for your 3D projects.
To speed up your workflow and improve the quality of your projects, you can download free PBR textures from our website here. These textures will help you achieve photorealism in your visualizations and game development.
Ctrl
Enter
Noticed a misTake
Highlight text and press Ctrl+EnterRelated news:
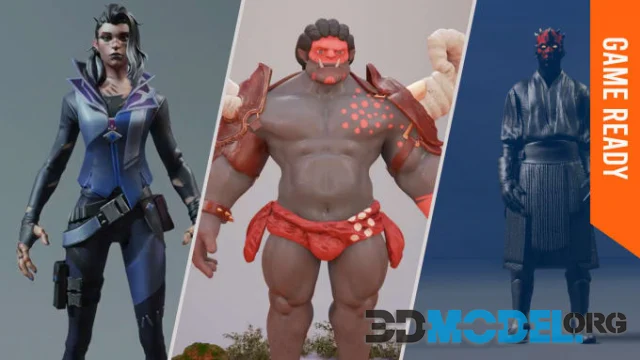
Modeling 3D Characters for Game Projects
Using Shader Graph to Create Realistic Materials in Unity
Using Substance Painter for Creating High-Detail Textures
Masterclass on Architectural Visualization in Cinema 4D

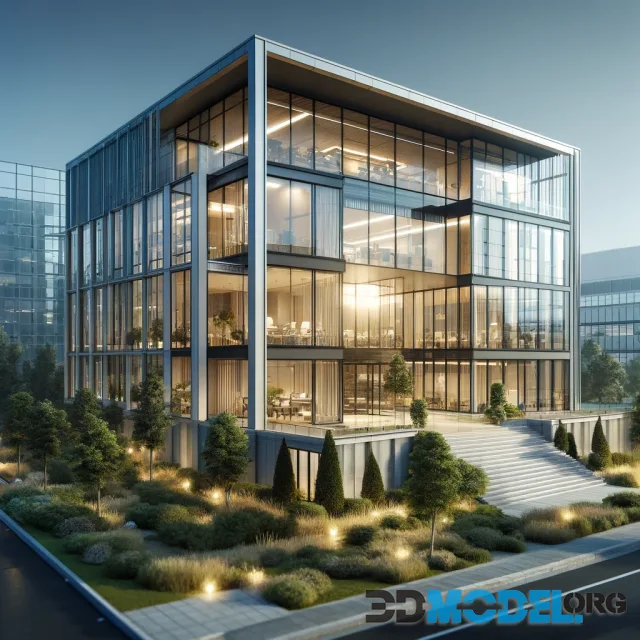
How to Create Realistic Architectural Renderings in 3ds Max
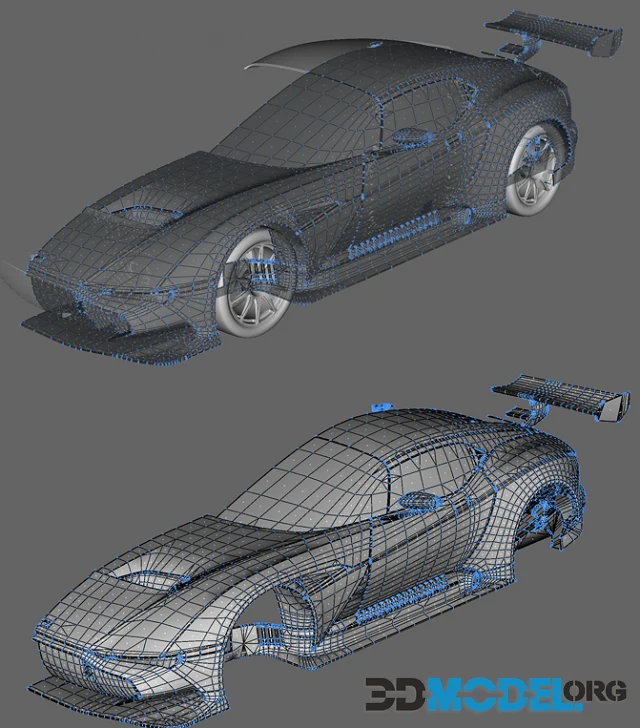
How to Create 3D Models of Cars
Comments (0)
Information
Users of Guests are not allowed to comment this publication.
Users of Guests are not allowed to comment this publication.