How to create PBR textures
How to Create Seamless PBR Textures in 3D - Part 1. Diffuse map.
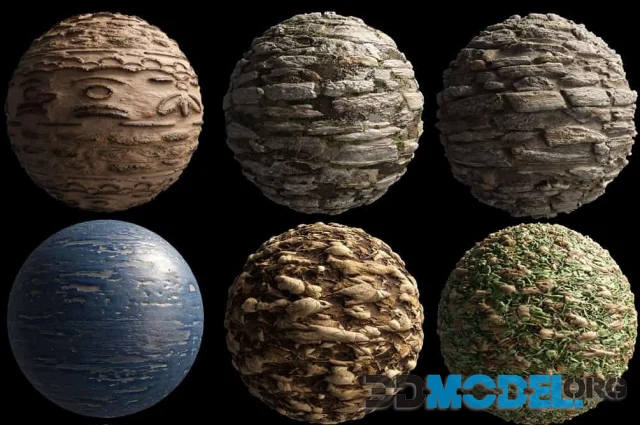
PBR (Physically Based Rendering) materials are used in 3D modeling, photorealistic rendering, and feature transfer. These materials are created from real world photos. They can be used in all common 3D software. The quality of the final 3D scene depends on the quality of the texture.
To create a PBR texture, you will need a diffuse, roughness, and height map. You can also use a displacement map and a normal map. When combined, these maps will provide a realistic feel to the material. For this tutorial, we'll skip the more complex Phong map.
First, you'll need to use a tool like Photoshop or PixPlant to extract the three map files. This will give you a complete set of textures that can be used in your project. If you're not familiar with PixPlant, it's a great time-saver for texturing. It extracts all the necessary information from a photo and translates it into seamless tiling PBR materials.
Next, you'll need to use the "More" button to load the diffuse map. It's essentially the main color image of the material. This can be exported to a PNG file. Typically, it's embedded into the alpha channel of the normal map.
After you've extracted the normal, roughness, and displacement map, you're ready to apply them to the height map. To do this, duplicate the SM4 height map layer and adjust its opacity to 50%. Once it's applied, you can set it to blend mode Screen. This will prevent weird glares from appearing.
If you want to add shadow detail, you can also import the ambient occlusion map into a photo editing program. This will simulate the shadows that are cast by indirect lighting. An AO map can be blended into the albedo of a PBR texture. However, this is not mandatory.
Another way to achieve a similar result is to use an AO map and bake it into a diffuse map. Baking an AO into a texture will help to bring out the self-shadowing effects of plain textures. Alternatively, you can level the texture before blending it. However, this method has its limitations, especially if you need to blend in deeper pits.
For example, the roughness of concrete will reflect very little light. Therefore, you can use a metalness map to create a PBR material that mimics the diffuse reflectivity of a real metal. Metalness is a property of certain ceramics. However, if you need to simulate the diffuse reflectivity of a concrete or steel material, you will need to generate a separate map.
While these steps are easy to follow, they may not be perfect for all situations. So, if you're looking for more detailed explanations, check out the tutorials on Blender Binge or CG Bookcase. In addition, it's best to start small and fit the texturing process to your own level of expertise.
Creating a seamless PBR texture isn't easy, but it can be done. There are a number of tools that will help you create a great material that works well in your 3D modeling software.
Part 2. AO
In this brief tutorial we will explore how to create a PBR texture using Twinmotion. To create a PBR material in Twinmotion you will need at least five different maps. Each map has its own special meaning and functionality. The most interesting of these maps is the TextureSample node, which is the simplest to use. Just click "T" to add a texture sample node to your scene. You can then use its "More" button to import a diffuse map.
A texture map is a collection of color and albedo data, which can be used to replicate surface details in a physically-based material. For instance, the albedo component of a height map will be identical to that of the material's surface. Similarly, a Color map will define the base color of a material. If you're creating a decal, you can use the Color map as a reference point for your texture.
There are many PBR textures available for purchase. However, they are available in different formats. While some are meant for use in a game engine, others can be imported into Photoshop or other design software. This makes it easier to create a unique and personalized PBR texture. Of course, you'll also need to add a few extra steps to make the textures work well. Here are a few tips to help you along.
It's not uncommon to have more than one texture for a single material. That's why it's important to add as many maps as possible. For example, a Height map and Color map will allow you to accurately create a seamless texture. The same goes for Roughness and Metallic maps. Remember, the more samples you cast, the smoother your ambient occlusion will be. Adding a LinearInterpolate (Lerp) node to your Material node will help make your AO effect subtle.
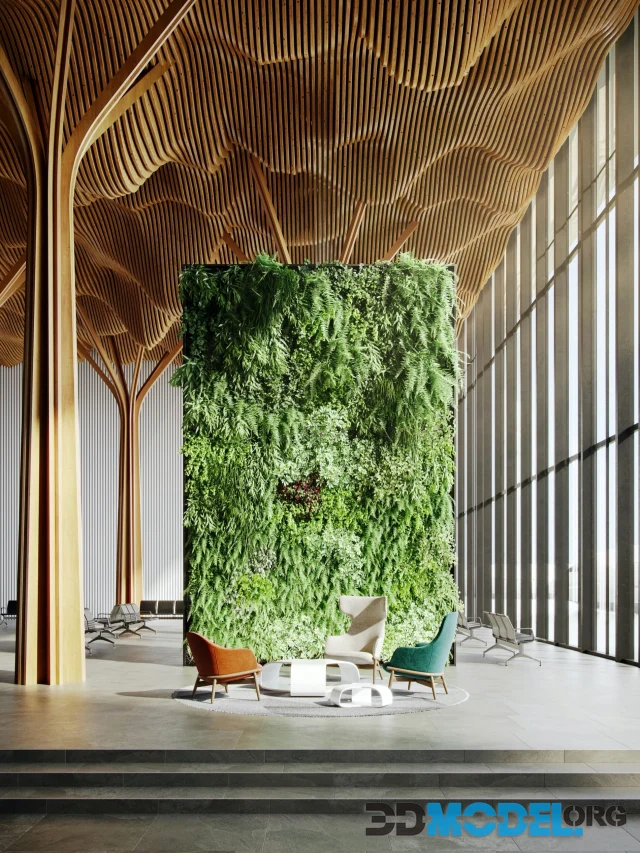
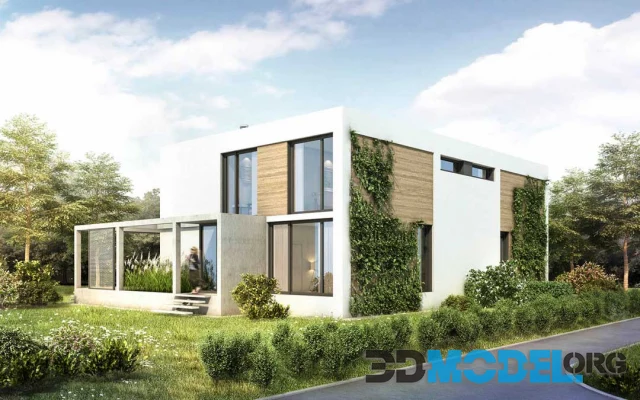
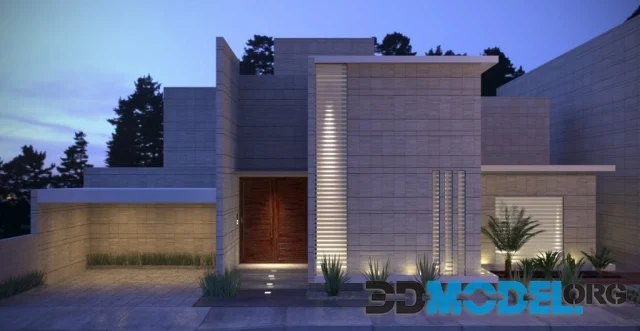
For more information on the subject, consult The PBR Guide. Another good resource is Jaakko Saari's detailed PBR texturing tutorial. Using a PBR material in an architectural or industrial project is a great way to showcase your vision to clients. These materials produce realistic results in all lighting scenarios. One thing to remember is that PBR materials only start to glow in the sunset, so you'll have to keep that in mind when choosing the right time of day for your material's illumination. Also, remember that PBR materials are not compatible with Twinmotion's native lighting system, so you'll have to decide whether or not you want to take a chance.
Creating a PBR texture in Twinmotion isn't difficult, but you'll need to use the right combination of tools to get it right. For example, there are a few ways to tell if you've messed up the albedo component of a height or color map. For instance, a texture that has no albedo will display a muddy color, while a textured height map with an albedo will show up as pure white. Adding a small amount of negative value to a color map can help it show up as white.
In our catalog you can find and download for free thousands of realistic and ready-to-use PBR textures from a variety of categories: wood, brick, cement, stone, plaster others.
Notes on the subject
Ctrl
Enter
Noticed a misTake
Highlight text and press Ctrl+EnterRelated news:
Choosing the Best Render for Architectural Visualization
Best 3D Software For Architectural Visualization
Vray vs Corona for Architectural Rendering
Using Shader Graph to Create Realistic Materials in Unity
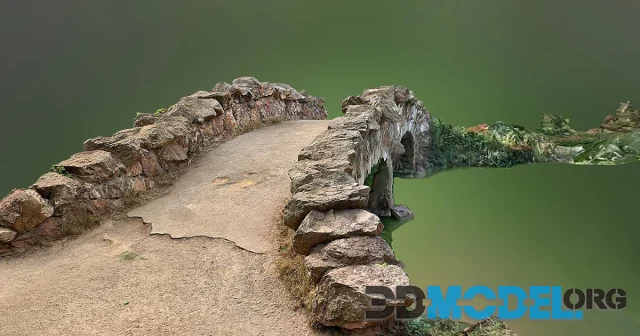
Using Photogrammetry to Create 3D-Models For Game Development
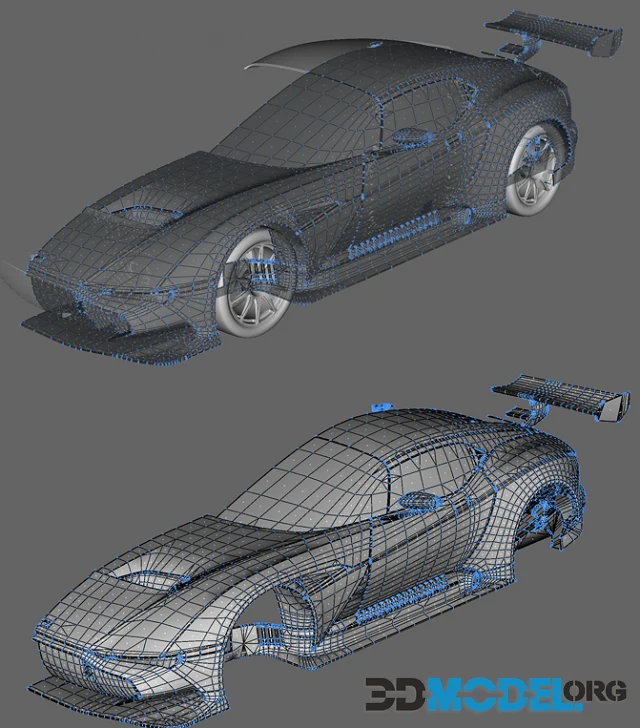
How to Create 3D Models of Cars
Comments (0)
Information
Users of Guests are not allowed to comment this publication.
Users of Guests are not allowed to comment this publication.