A Beginner's Guide to Blender's Particle System
Blender gives us the ability to model and control the life cycle of particles in 3D reality. It helps generate the effects of natural phenomena - precipitation, air pollution (dust, for example), hair, as well as the effect of animal fur.
The operating functions of the particle system are divided into the following types:
Emitter object. This is absolutely any mesh object or particle. We can indicate the locations, shapes and sizes of the object we need.
Particle characteristics. Here we select the particle type, initial speed, lifespan, size, color and several other parameters.
Particle behavior. It is possible to set functions that affect the movement of particles, for example, the force of gravity or wind, and turbulence.
Particle interaction. A function is available to create collisions between particles and other objects, which allows you to visualize realistic interactions, for example, bouncing, sliding or flying.
Particle visualization. Blender has capabilities for rendering particles, including control over shapes, sizes, colors, and materials.
Manipulating the available aspects of particle systems allows for a wide variety of rendering effects to be created. Particle system settings are a powerful tool for adding dynamic and realistic elements to your scenarios. Experimenting with all sorts of features, settings, and interactions will give you unique and exciting results. You just need to take the time.
It is worth noting that particle systems can be both simple and complex, with different parameters and options. It will take some practice and experimentation to understand the theory and get great results. And we will help you with this in the next paragraph.
A little practice to consolidate the theory
Let's look at a short tutorial on the particle system in Blender 3D. It looks very impressive, and is done as simply as possible. We strictly follow the instructions:
1. Remove the cube. Create a plane. We set up the camera right away;
2. Select a plane and create a system of particles. Number is set to 10000, End is set to 600 (the number of frames), and we also change the number of frames in the timeline window to 600;
3. Go to the Field Weights section and set the Gravity value to 0 so that the particles fly away;
4. In the viewport, press Ctrl + A > Force Field > Turbulence;
5. In the physics settings on the right, set the Strength value of Turbulence to 15;
6. Create an icosphere; in the last action window, set the Subdivisions value to 0;
7. We make the sphere smaller and hide it somewhere so that it is not visible on the camera;
8. Select our plane again, go to the particle system, Render tab. Here we change Render As from Halo to Object and select our icosphere as the object;
9. In the Scale section, you can set the size as you like. For me it's 180;
10. We create new material for our icosphere. Surface select the Emission value > select the color > set the strength to 70;
11. Create a material for the plane. Choose what you like most
12. In the world settings, change the color of the environment to the most suitable one;
13. In the render settings, set the engine (V-ray or Corona.), make all the output settings (location, format, etc.);
We launch the render and Wow!!! Your efforts turned into a cool effect in Blender 3D!
We have add-ons and resources for various utilities such as 3ds Max, ZBrush, Cinema 4D, Maya, Blender, etc. You can also find a lot of content on our website. For example, collections of 3D models from Evermotion, Archmodels, CGAxis, 3DDD/3DSky, Artstation, 3darcshop, Viz-People, 3D Scan Store, Kitbash 3D, Xfrog, AXYZ Design and some others.
All this is available for free and without registration.
All this is available for free and without registration.
Ctrl
Enter
Noticed a misTake
Highlight text and press Ctrl+EnterRelated news:
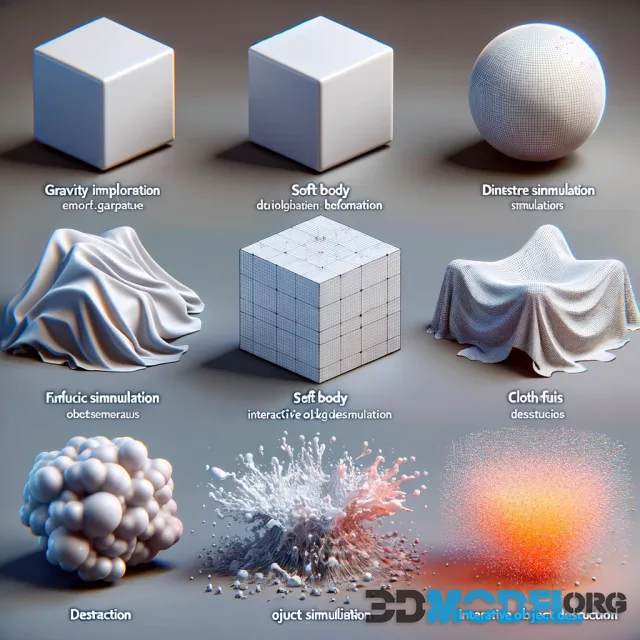
Implementing Physics in 3D Modeling: From Simple to Complex
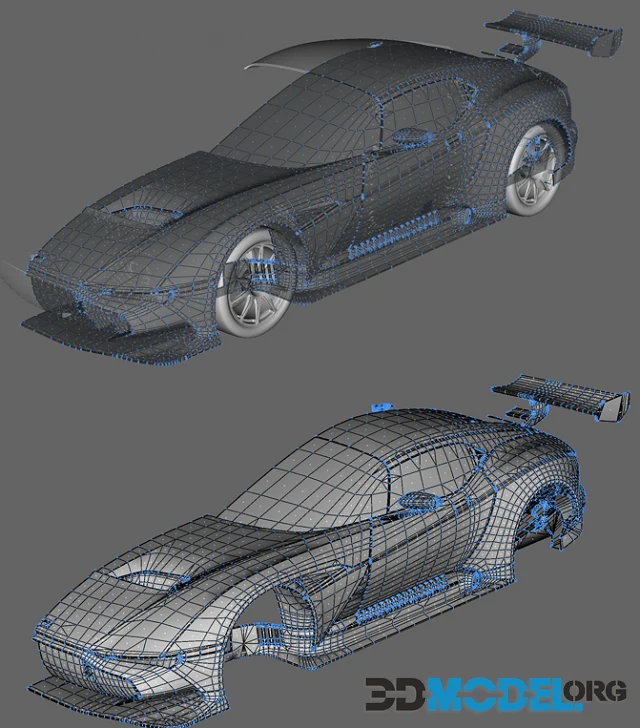
How to Create 3D Models of Cars
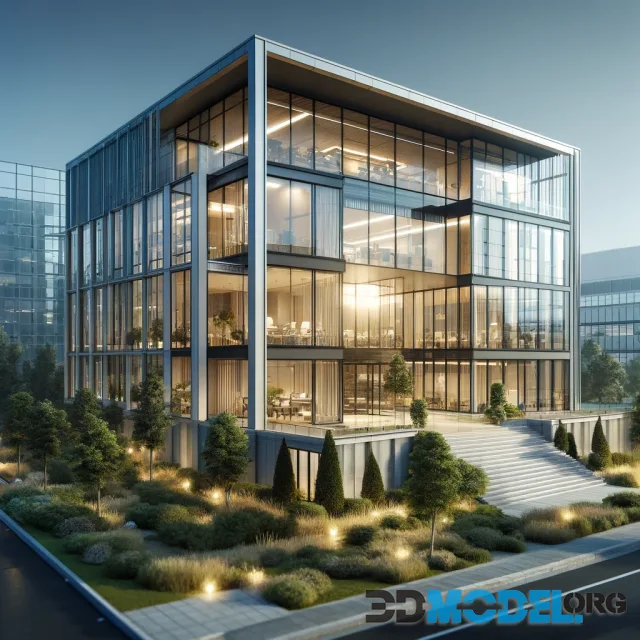
Masterclass on Architectural Visualization in Cinema 4D
Using Photogrammetry to Create 3D-Models For Game Development
Creating Photorealistic Textures in Blender: A Step-by-Step Guide
Best 3D Software For Architectural Visualization
Comments (0)
Information
Users of Guests are not allowed to comment this publication.
Users of Guests are not allowed to comment this publication.